Exhaust
| Time, Total Time, Cost, First-Time Cost | 2hr, 2hr 20 min, $0-10 |
| Number of Persons | 1 (a second person is helpful) |
| Difficulty level | 4 |
| Tools | torque wrench, 3" wobble extension, 14mm socket, breaker bar, 5" extension, Liquid Wrench, silicone spary |
| Special Tools | |
| Special Parts | Exhaust gasket rings (optional) |
| Service Manual Pages | |
| Service Interval | 9-4 |
| Prerequisite | Jack (20min) |
| Resources | Brent's Garage at www.nsxsc.com - www.nsxsc.com/ubb/Forum17/HTML/000003.html |
Note: It may be nice to have a few extra exhaust nuts, gaskets and studs on hand just in case.
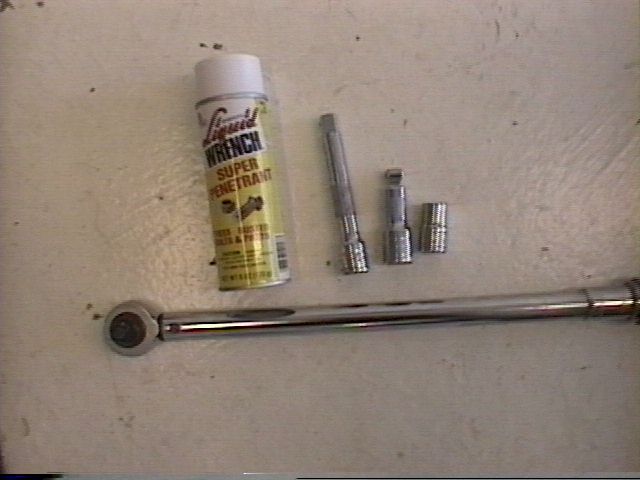
Tools
We'll need some aerosol Liquid Wrench (not WD-40), a
wobble extension, a breaker bar
(not pictured) a 14mm socket and a 5" extension and silicone spray (not
pictured)
1. Jack up the car. Make sure the car is really stable and safe because it takes some force to remove/install the exhaust.
2. Liberally spray the Liquid Wrench on the six nuts that attach the exhaust to the cats and wait for 5 - 10 minutes (note: it sometimes helps to lightly tap the nuts with a hammer to help the Liquid Wrench work its way into the threads).
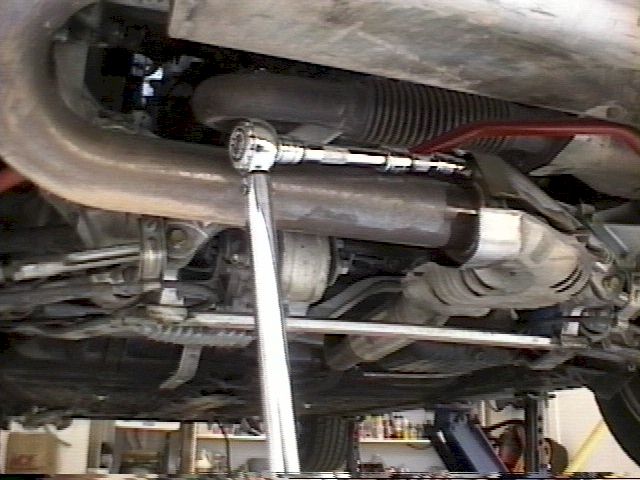
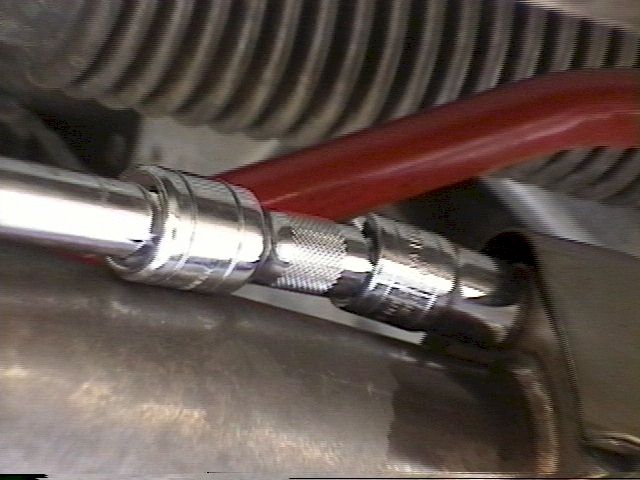
3. With a long breaker bar and appropriate extension (use the wobble to get the hard-to reach nuts), make sure the socket is securely fastened over the nut, then attempt to break the nut free with a forceful impact stroke on the breaker bar. If the nut won't budge, then spray it some more with Liquid Wrench and move on to the other nuts.
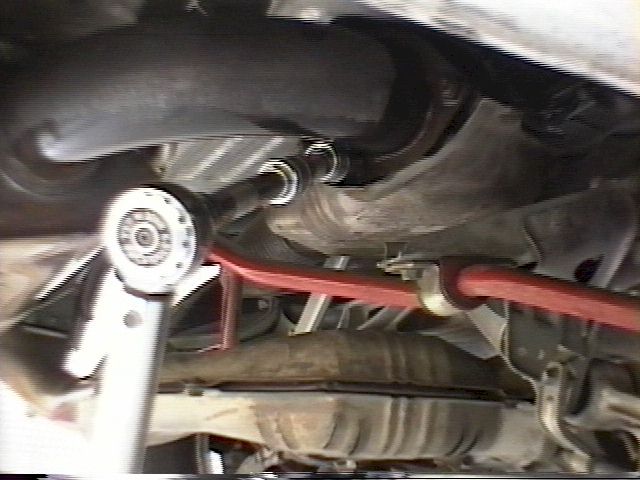
Once all the nuts are off, then carefully
lower the exhaust by removing the rubber hangers. The silicone spray may
aid in the removal of the hangers. It's nice to have a helper here, as the
OEM exhaust is pretty heavy. I like to have a few big towels nearby so
that I can protect the tips and exhaust when it's on the ground.
Installation
Read Brent's excellent write up on this procedure at:
www.nsxsc.com/ubb/Forum17/HTML/000003.html
I have found it helpful to slightly lubricate the rubber
hanger holes with silicone spray before installation.
Torque the nuts to 25lb-ft and re-torque when finished.
Good Luck!